Buying your first flash unit is exciting, but the real magic comes when you start using it effectively. Flash photography isn’t just about adding light—it’s about shaping it to create mood, depth, and professional-quality results. This guide will walk you through step-by-step techniques, settings, accessories, and practice plans so you can confidently master your flash.
Why Use Flash?
Natural light is wonderful, but it’s not always reliable. Flash gives you:
- Consistency – Reliable lighting no matter the time of day.
- Control – Ability to direct, soften, or highlight specific areas of a photo.
- Creativity – Freedom to experiment with dramatic shadows, highlights, and moods.
💡 Remember: Flash isn’t just for dark rooms. It’s also a great tool in daylight to fill shadows and balance harsh lighting.
Flash Photography Basics
Key Modes
- TTL (Through-the-Lens): Camera decides flash strength automatically. Perfect for beginners.
- Manual: You set flash power (e.g., 1/2, 1/8, 1/16). Offers full creative control.
👉 Quick Start Tip: Begin with TTL while you get comfortable. Gradually experiment with manual power settings to learn how small adjustments affect your photos.
How Camera Settings Interact with Flash
Understanding how your camera “talks” to your flash is essential.
| Setting | Role with Flash | Beginner’s Rule of Thumb |
|---|---|---|
| Shutter Speed | Controls ambient light, but not flash brightness (until you exceed sync speed). | Stay below your camera’s sync speed (usually 1/200 or 1/250). |
| Aperture | Directly affects flash exposure. | Wider aperture = brighter subject. |
| ISO | Boosts both ambient and flash light. | Keep moderate (ISO 400–800) for balance. |
| Flash Power | Controls brightness of flash burst. | Start around 1/16 power in manual mode and adjust. |
⚡ High-Speed Sync (HSS): Some flashes allow shutter speeds faster than sync speed. Useful outdoors for wide-aperture portraits in bright light.
Step-by-Step Scenarios
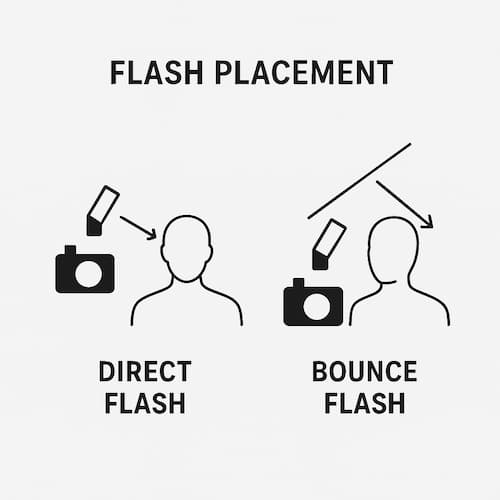
1. Indoor Portrait with Bounce Flash
- Setup: Point your flash at a white ceiling or wall instead of directly at the subject.
- Why: This softens shadows and creates flattering light.
- Settings: TTL mode, ISO 400, aperture f/4–f/5.6, shutter speed 1/125.
- Pro Tip: Place your subject at least 3 ft from walls to avoid hard background shadows.
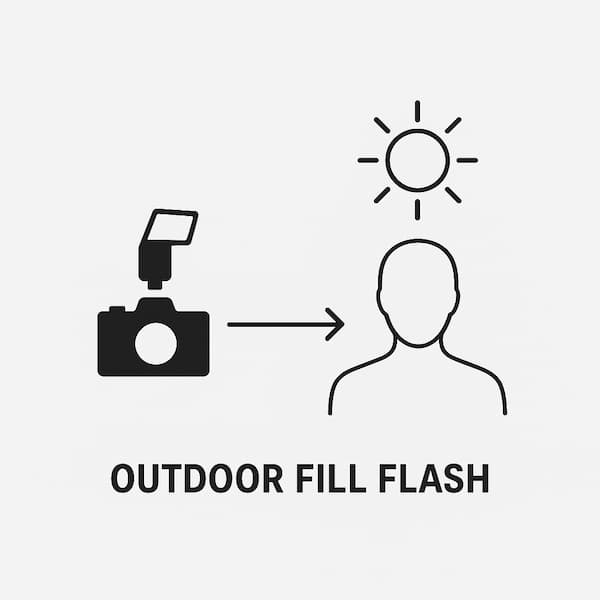
2. Outdoor Fill Light
- Setup: Use flash on-camera during bright daylight when shadows are harsh.
- Why: Fills shadows under eyes and balances uneven light.
- Settings: TTL mode, exposure compensation –1 EV, flash compensation +1.
- Pro Tip: Use HSS if your shutter speed goes above sync speed to avoid overexposure.
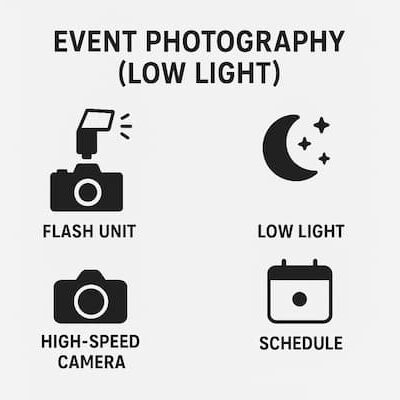
3. Event Photography (Low Light)
- Setup: Aim flash slightly upward with a bounce card or diffuser.
- Why: Creates soft, flattering light while keeping subjects bright.
- Settings: TTL mode, ISO 800–1600, shutter 1/60, aperture f/2.8–f/4.
- Pro Tip: Always carry extra batteries—event shooting drains power quickly.
4. Creative Off-Camera Flash
- Setup: Place flash to the side or behind the subject using a wireless trigger.
- Why: Adds depth, rim lighting, or dramatic shadows.
- Settings: Manual mode, start at 1/16 power, ISO 400, aperture f/5.6.
- Pro Tip: Even with one flash, off-camera positioning can transform a flat photo into a striking one.
DIY Light Modifiers
You don’t need fancy gear to shape light:
- White index card: Creates forward bounce for softer portraits.
- Tissue paper or thin fabric: Quick DIY diffuser.
- Aluminum foil: Reflective surface for creative rim light.
- Plastic milk jug: Cut into a diffuser dome for softer light.
Gear Add-Ons Worth Considering
Once you’ve mastered basics, small accessories can boost your results:
| Accessory | Why It Helps | Cost Range |
|---|---|---|
| Bounce card | Softens light and reduces harsh shadows. | $10–$20 |
| Diffuser dome | Creates even, wraparound light. | $15–$30 |
| Wireless trigger | Enables off-camera flash setups. | $20–$40 |
| Mini softbox | Makes light more flattering for portraits. | $20–$50 |
| Rechargeable AA batteries | Saves money and keeps recycle times fast. | $15–$25 |
Troubleshooting Common Flash Problems
| Problem | Cause | Quick Fix |
|---|---|---|
| Flat, harsh look | Direct flash at subject | Bounce or use diffuser |
| Overexposed subject | Flash too strong | Lower flash power, stop down aperture |
| Black background | Ambient underexposed | Slow shutter / raise ISO to capture ambient |
| Mixed colors (yellow + white) | Tungsten bulbs + flash | Use gel on flash to match color temperature |
| Red-eye | Flash aligned with lens | Bounce flash, or use off-camera setup |
Beginner Flash Exercises (7-Day Practice Plan)
- Day 1: Direct flash, then bounce flash—compare results.
- Day 2: Shoot portraits at different manual power levels (1/2, 1/8, 1/32).
- Day 3: Practice balancing flash with ambient indoors (use slower shutter).
- Day 4: Outdoor fill flash in sunlight.
- Day 5: Off-camera flash at 45° angle—observe shadows.
- Day 6: Try DIY modifiers (card, tissue, foil).
- Day 7: Mix flash and ambient at night for creative effects.
💡 Tip: Keep notes on settings and results—your own experiments will teach you faster than theory alone.
Final Thoughts
A starter flash opens up an entire world of creative possibilities. At first, it may feel intimidating, but with practice, you’ll gain control over light, balance, and mood.
Start simple: bounce your flash, experiment with fill outdoors, and learn to balance flash with ambient light. From there, accessories, off-camera setups, and manual control will take your photography even further.
The key is to practice often and view every session as an experiment. Before long, you’ll see your flash not as a backup for dark rooms, but as one of your most powerful creative tools.
Need advice on buying a flash unit check Best Starter Flash Units For Beginners
Pingback: Best Starter Flash Units For Beginners – startdp.com